Saturday, October 16, 2021

a TWO video day today!

 Gilt Stamped Edgings
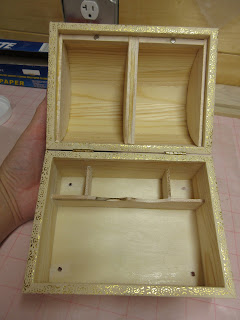
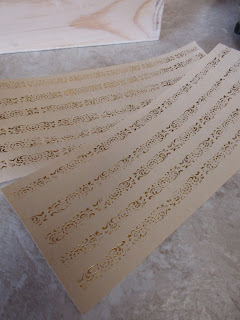
It's time to finally start to paper my little dome-top casket.  I wanted to bring you all along with me so turned the camera on real-time as I applied my edgings. Before you write and ask me if I make and sell stamped paper edgings, the answer is no. Not at this time anyway. I have a list a mile long of things I need to get done~ I do link on one of the videos today to Talas where you can find a plethora of beautiful brass finishing tools, papers, and foils to make your own though. A pretty edge treatment doesn't have to be just a stamped paper though, it could be gilt with gold or silver leaf, or a pretty marbled or otherwise fancy paper!

 
Today is a two video day because the battery in my camera died partway through, and  I am still trying to figure out all this YouTube stuff. I have no idea how to put two videos together, and honestly, it is not in my brain capacity currently to try and figure it out. There is a hideous closeup of my elbow that I am both warning you about and apologizing for at the same time. I would have cut that out, which I know how to do, but I was talking at the time so all I can offer is, to just close your eyes for a few seconds!
I am planning on some very in detail interior finishing classes in the near future, so if you like what you see and want to dive into greater detail, just comment here or drop me a line at rlkinnison@yahoo.com and I will put you on the mailing list for future classes.


and Part 2....


Saturday, October 09, 2021

Time for another Video!

 Finer Finishing Tips #5


This week flew by in a minute. I have been somewhat ´in the zone´ working on my dome top casket and can't believe it's time for another video already. In this week's episode, I will show you how to deal with the challenge of a deep set hinge, as shown above, when prepping for papering. I will also go over the reasoning behind why we cover a wooden box with paper before mounting embroidery to it. I think there's a little glue talk in this one too. 


The casket I mention in the video is one of my favorites and can be seen here. This is one of the caskets that I studied the door construction of and used to design my original configuration of the hidden compartments that are in my flat top casket lid so many years ago. One of the things I love about it, aside from the hidden pullouts that are in the slope, are the covers or doors on the top of many of the inner tray compartments. I think you will really love my interpretation of some of them on the dome top box...coming up in a later video, so check on back!

Saturday, October 02, 2021

Finer Finishing Tips #4

What's Happening with that Dome Top Casket??

When I open a box my mind is filled with visions of what could be. To me, an empty box is like a huge playground, and I get to decide what rides I want in it! 

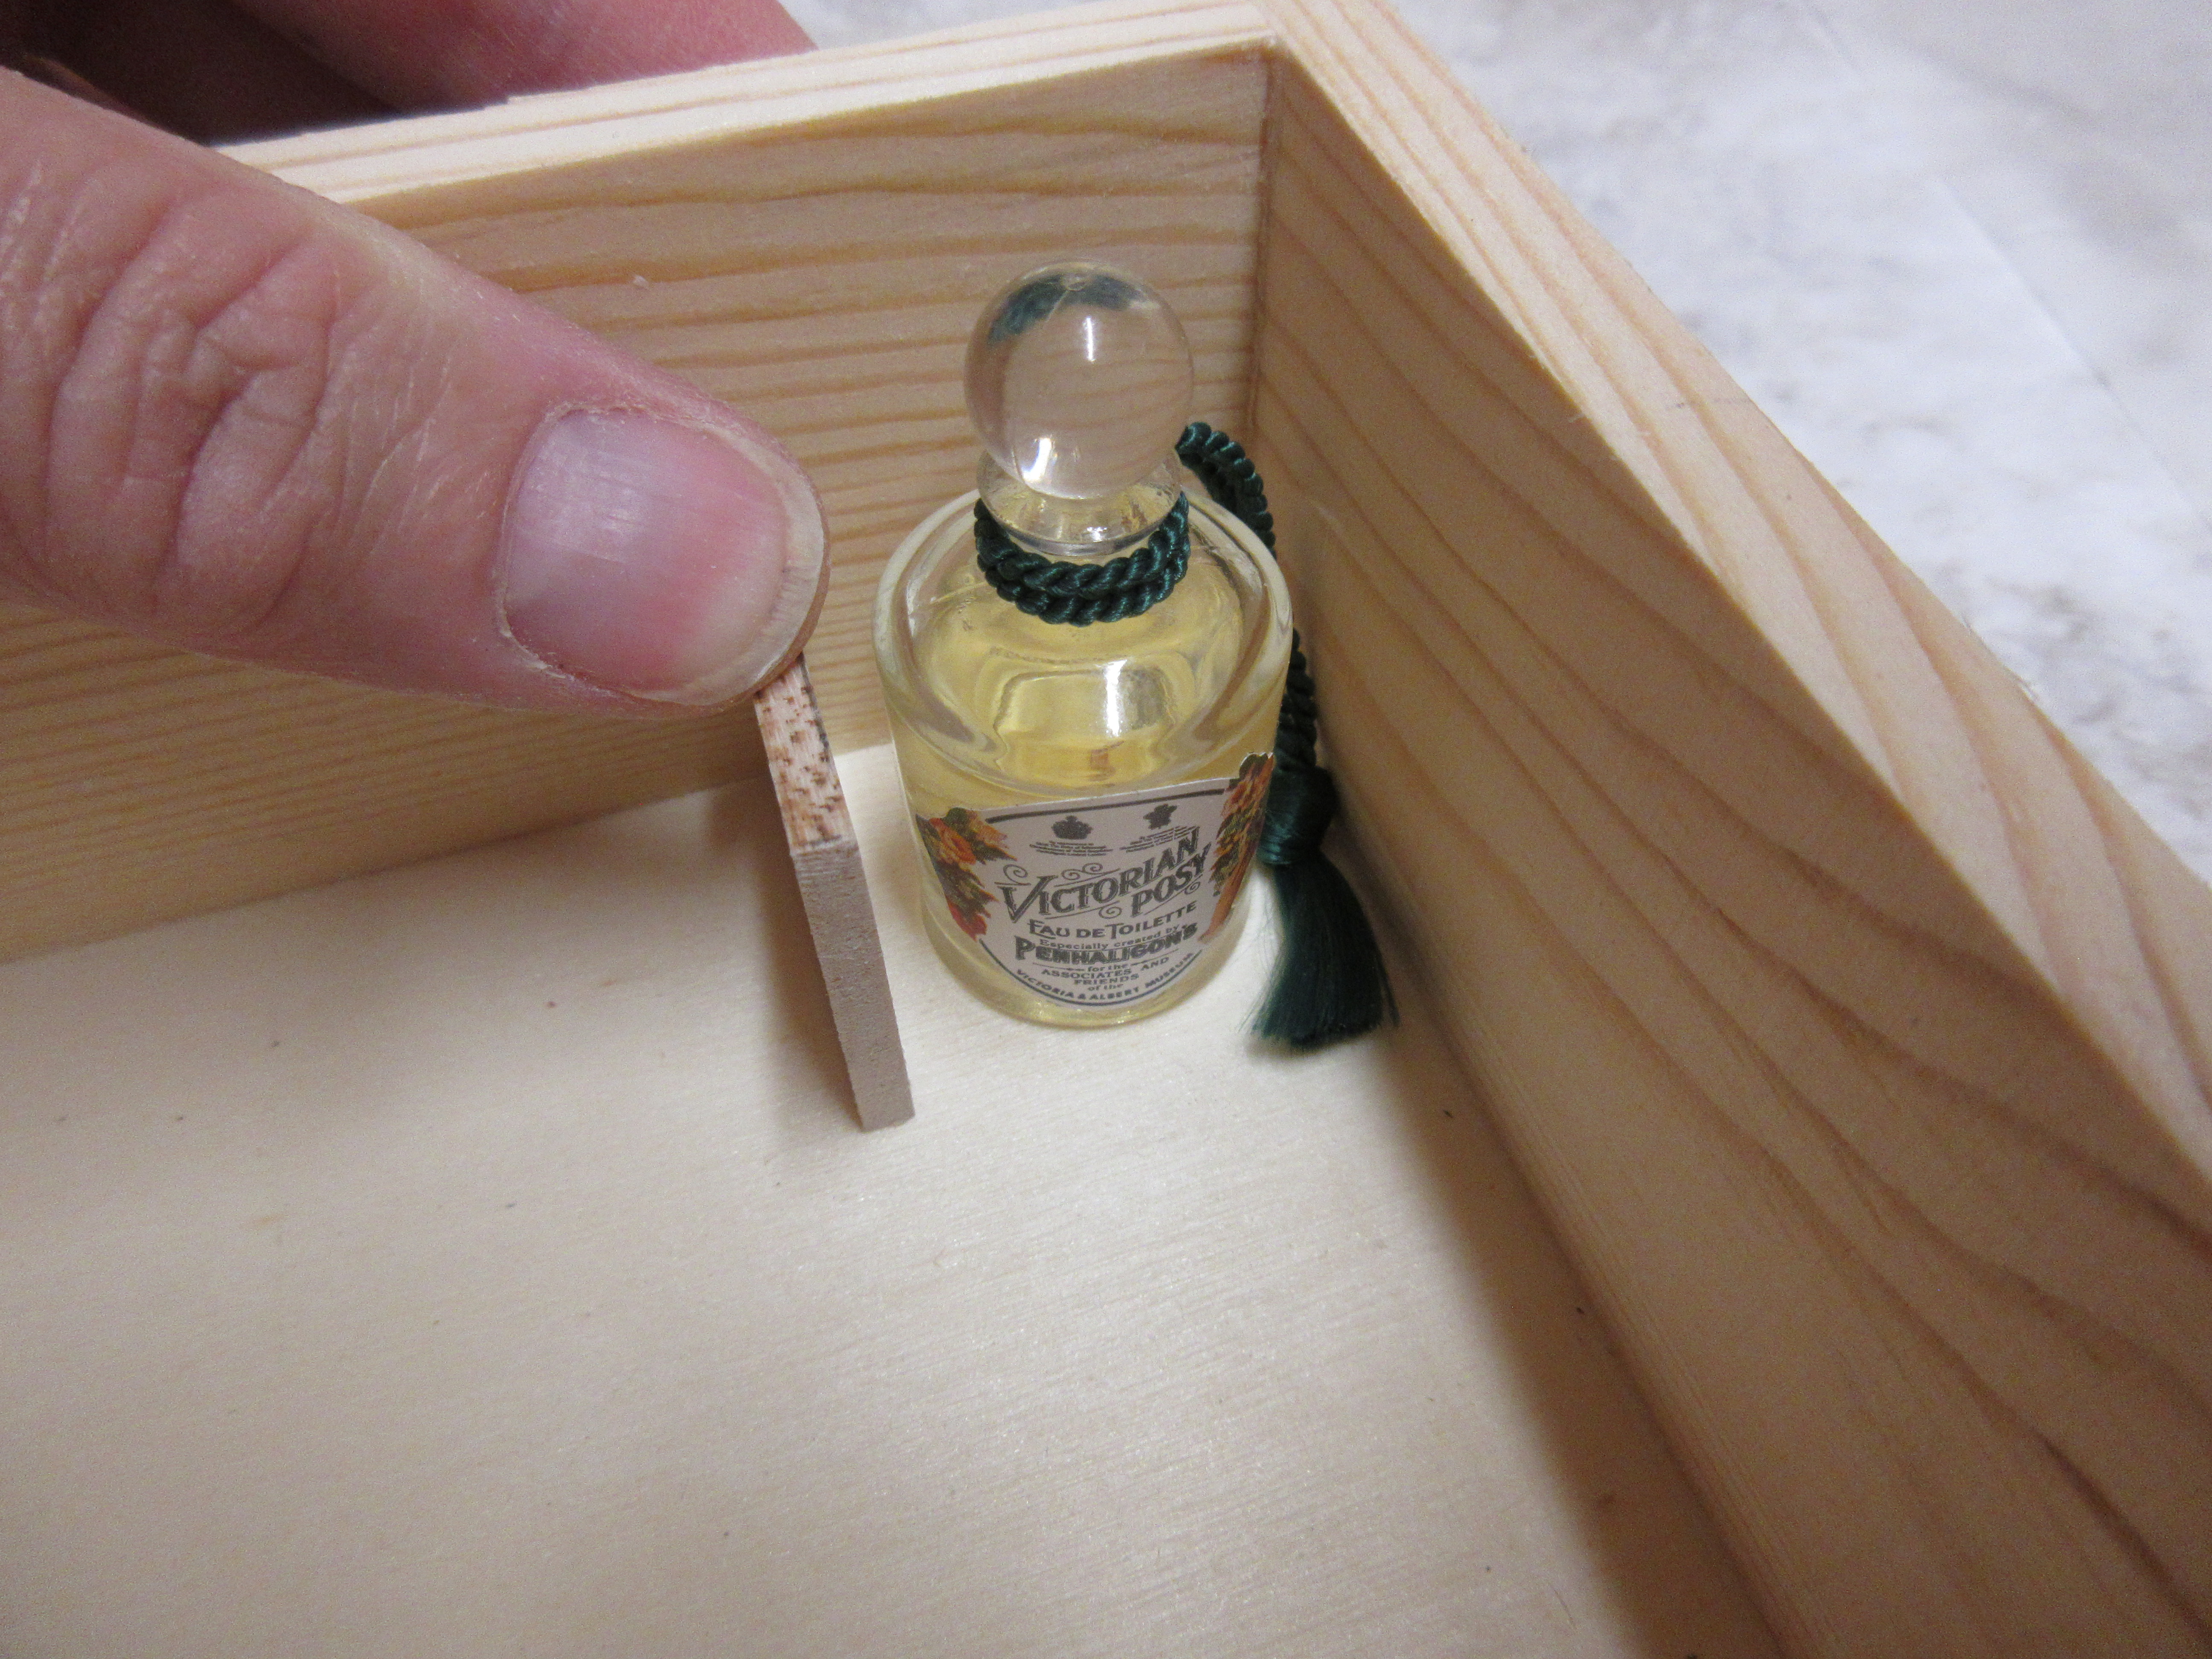
Do you have a special something...or somethings that need a place to live? By place of course I mean, a box! The something could be a bottle of perfume..but it doesn't have to be. Your something could be a piece of jewelry, it could be a rock, a special pair of scissors...some antique needlework tools...

When you are blessed with an empty box in front of you, just sit and have a cup of tea with it...ponder all the things it could be. Let it speak to you. If it tells you it wants to hold that special something you have, well then, you can make a dedicated special space just for it!

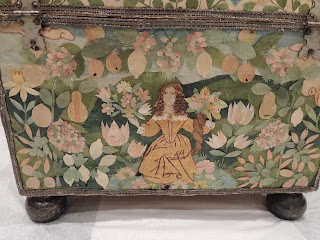
I am not good at keeping secrets for very long, so by now a lot of you know that this casket is a showcase for my beloved 17th c Gummed Silk technique I have been working on.  I thought that I had linked in my last post to the beautiful Gummed Silk Casket at the Dallas Museum of Art, but I didn't! So sorry! Click on the photo below to go check it out, it really is amazing. Flat photographs just do not do the silk justice. As one moves around it, the light catches the fibers differently and the whole just takes on a glow like no other.


You can check out my latest tips for making partitions in your 'box' below~


Happy Stitching!


Thursday, September 23, 2021

Finer Finishing Tips #3

  Dome Top Casket Progress...


So as you can tell, I have changed from referring to my little inexpensive Amazon dome top box as a 'box'... it is now a casket. I am really having a lot of fun just tricking this thing out! Above is a little peek at something going on the INSIDE~ do you know what it is? It is a 17th c technique called Gummed Silk. You may remember that I taught this quite a few years ago at the SouthWest Get Together. I have always loved this technique and have studied several different caskets that were either entirely covered in it or had bits and pieces. I have been refining and changing my technique over the past few years and finally am getting consistent results that I am happy with. I will be offering an online class teaching this technique soon~ if you are interested and would like to get on my email list for info, just drop me a line at rlkinnison@yahoo.com. 

The next little video for the Dome Top Casket project is up on my YouTube ~ or you can view it here. Hope you enjoy and come back to follow the growth of this super cute casket!

Happy Stitching!


Tuesday, September 14, 2021

New Finer Points of Finishing Tip Series

 Come Along....

I get so many questions on Embroidery Finishing that I have decided to run a small You Tube video series on the subject, FlossTube Finer Finishing Tips.  We spend so much time on our embroidery, years and years even, and then expect to mount said embroidery on a box in a weekend. NOT SO.  Just as much care should be spent on finishing as the embroidery itself. A great finishing job has the ability to elevate a mediocre embroidery...just as bad finishing can make the most elaborate and expertly worked embroidery look horrible. 

I will be having some finishing classes in the future, but hope that until then, you will join me to follow the transformation of a cheap wooden pine box (under 10.00 USD) purchased on Amazon. I will try and post a new video every 10 days or so. The second in the series is below:

I am not a scripted person, and I don´t make notes. What you see is what you get. When I get my arm stuck in glue...you will probably too. My camera angles need work. I am not a skilled cinematographer...but I think you will enjoy the videos and maybe pick up a few tricks to use in your own finishing~be it a stumpwork casket or mounting a cross stitch or needlepoint piece to a cigar box. 

As you will realize through this series, a box need not be expensive to offer a spectacular, unique finish for your precious embroidery. 


Friday, September 03, 2021

Boxes....

 Think Outside the Box....


Pomme & I made a video to give you some box tips if you are looking to mount your embroidery. You may need look no further than your refrigerator!  I have already got asked who the dollies were in the end, that I was too far away for yaĺl so peek at them, so here they are. My daughter wanted to make dollies last fall so she came over and I made these two. Watch the video to see what I used for their boxes!
This is Agnes with her Ravens

And Full Moon Party.. she is named after my favorite tea!


Monday, August 30, 2021

2021 Annual Ornament Kit

 All Flemish Coffer Pre-orders Have Been Shipped

If you have ordered this yearś ornament kit, it is on its merry way to you! I shipped the last of the preorders this morning. Etsy has been sporadic about sending out shipping notices, so if you have not got yours, check your order on ETSY. I have uploaded all tracking numbers so you will have accurate info on when your kit will arrive. 


I have cut, packaged, measured, primped and counted, and checked, and rechecked each and every morsel of happiness in each and every one of these kits myself. There is a Kit Contents page nestled in between the 60-page instruction packed and pattern packet. 


I know you will be so excited to open the box and inspect the contents, just like I do when I get a new kit! I have strategically placed all the contents into their box carefully, so do take care when putting everything back into the box. Be sure things are in their proper place so as to not squish the packet containing all the metal threads! It is shown in the upper right-hand corner in the picture above~

I hope you all have as much fun making your Coffers as I did. If you are interested in purchasing one, they are available in my ETSY store~the link is in the right hand sidebar. Currently, I have just 8 left in stock. Once these sell out, I cannot give a definite answer as to when they will be in stock again, as it has been a chore to get some of the materials!

Happy Stitching!