Beneath Thy Poft Oak, The Art of 17th c Bead Embroidery

I have a scant TEN kits remaining for this class and have decided to run it one final time~ so once the 10 are gone, I will not be rerunning this class.

You can read up on all the particulars here: https://ladysrepositorymuseum.blogspot.com/p/2026-beneath-thy-poft-oak-17th-c.html , or click the header at the top of the page for the Poft Oak Class. It is pronounced 'Post Oak' for those wondering, which is a beautiful type of oak tree particular to Texas, where my original 2020 class was designed to be held.
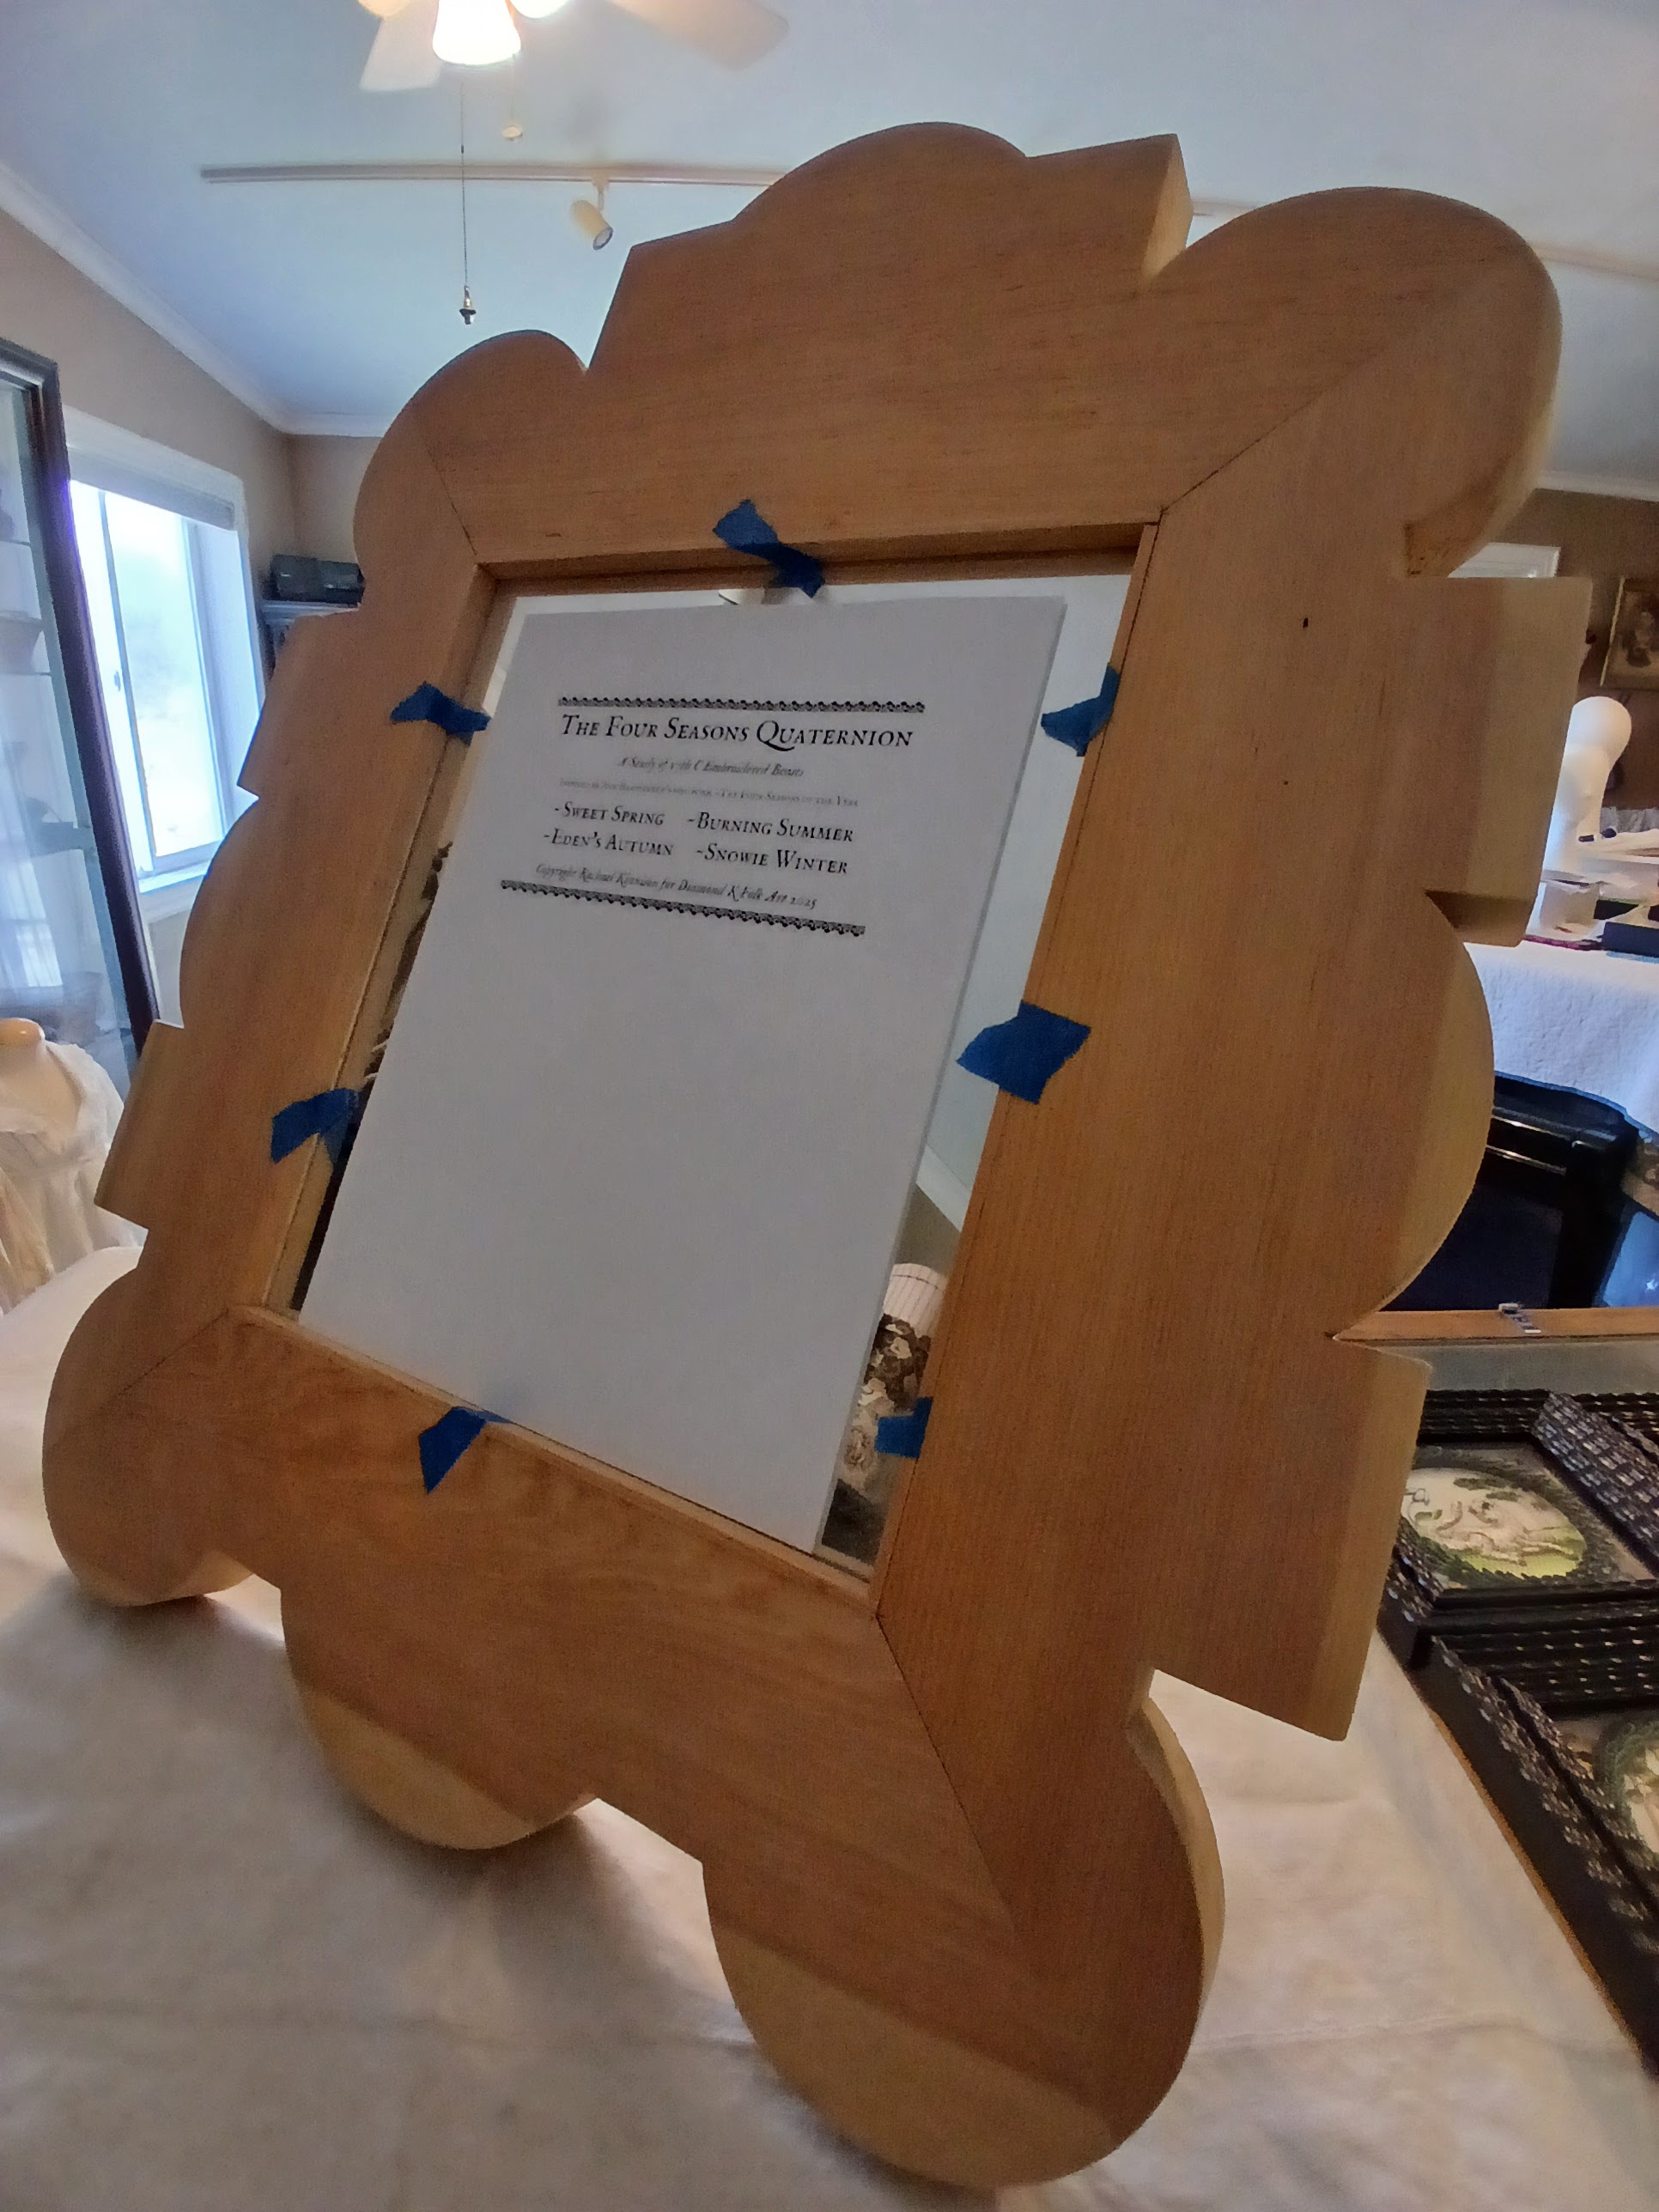
If you decide to join us, the photos above and below are of your class kit. All lessons are hosted online at my Diamond K Folk Art Online Academy website. They are fully downloadable, and links are given to access the private class only instruction videos so they may be accessed long after class is over.


The techniques taught in class are the same ones I used to create my beaded basket, shown above, and my beaded flat top casket, shown below.

I will also add, that I have decided to keep the price of kit & class at the original amount, because these kits are leftovers from that first class. If I was to re-kit this class at todays prices, it would absolutely be more expensive!
These last couple of photos are some student finishes~ I hope you will enlarge them to appreciate all the fine details and subtle differences. I love how Julie's detached roses spill out over her cartouche edge~

As drawn, the design fits well within the top of the Thistle Threads Flat Top casket(with or without doors), as shown below, worked by Patti

Bobbi was in my original class and just finished her panel this year, as shown below. She worked it at her own pace, and changed the colour of beads for the roses. I think they are absolutely stunning!

I am super proud of all my students. As with all of my classes, yes they have a date where access to the course downloads expires, but as far as my help goes, there is no expiration date(as long as I am walking the earth). I will never rush you to finish something by a certain date, and even though everything you need to make this panel is in the kit, I encourage you to change colours to suit your own taste.
****Please note that this final kitted running of the class ships to US ONLY destinations. ****