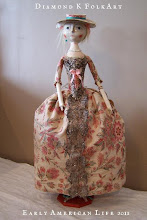
Scenes of Country Life, or Rural Pursuits Casket Finished!

Its been a whirlwind the past three years. I am a bit surprised that I was able to get this casket done...but on the other hand, as usual, stitching helped me through it. I started the interior in 2021, and thought it was an easy mark of planing it to be finished by the end of 2022. Then I got sick...was already a nervous wreck when dr told me I had a coconut size liposarcoma that needed to come out not next month or sometime in the future...how about the day after tomorrow? So things changed, and I couldn't stitch on it for a while. You have no brain capacity for anything at that moment...at least I didn't. Slowly as I got better and realized I wasn't on the expressway to the other side, I started stitching on it again. At first, stitching gave me something to concentrate on so my mind wouldn't think about other things. Then, stitching gave my mind ease in reflecting and thinking about ...well...all the stuff I didn't want to think about.
There is a mine of information just waiting to be discovered about the effects of the sounds of a needle and thread moving through a fabric. Perhaps it is that, combined with the repetitive motions of stitching, moving the arms up and down, that relaxes the spirit? I don't know, but whatever it is, I like it. I need it.
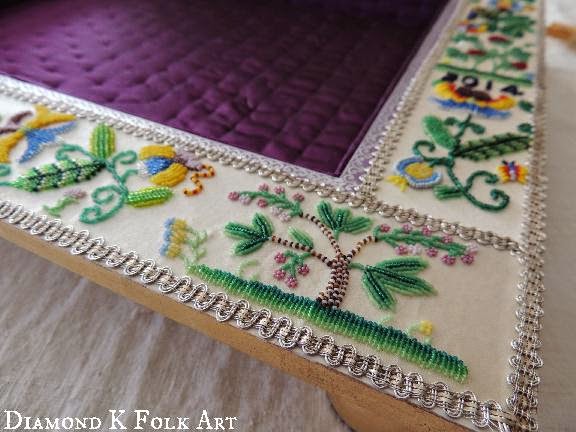
I love how this casket came out. It is my Scenes of Country Life or Rural Pursuits casket, and it is everything I love about my childhood and then some.

It is stitched on dutchess silk satin, entirely in flat filament silks. There are five cartouches with scenes in them that remind me of special memories. I am on the front sitting on the shore fishing(she also represents my Mother), and in another, milking a cow. Growing up there was many a day spent fishing. Sometimes we were fishing for our supper, so we sat there till we caught something to eat, rain or shine. I never liked going out in the boat to go fishing because one, I always had to pee, sometimes before we even got to the 'spot' to fish...and two, if I sat on shore, I could sit and play in the dirt while fishing. Maybe that's where I first learned to multitask? ha
I learned to milk a cow at a little dairy farm in the first grade. I loved the sound of the milk hitting the can, and seeing the steam rise up from it. Can't stand to drink milk, but milk the cow, yes!
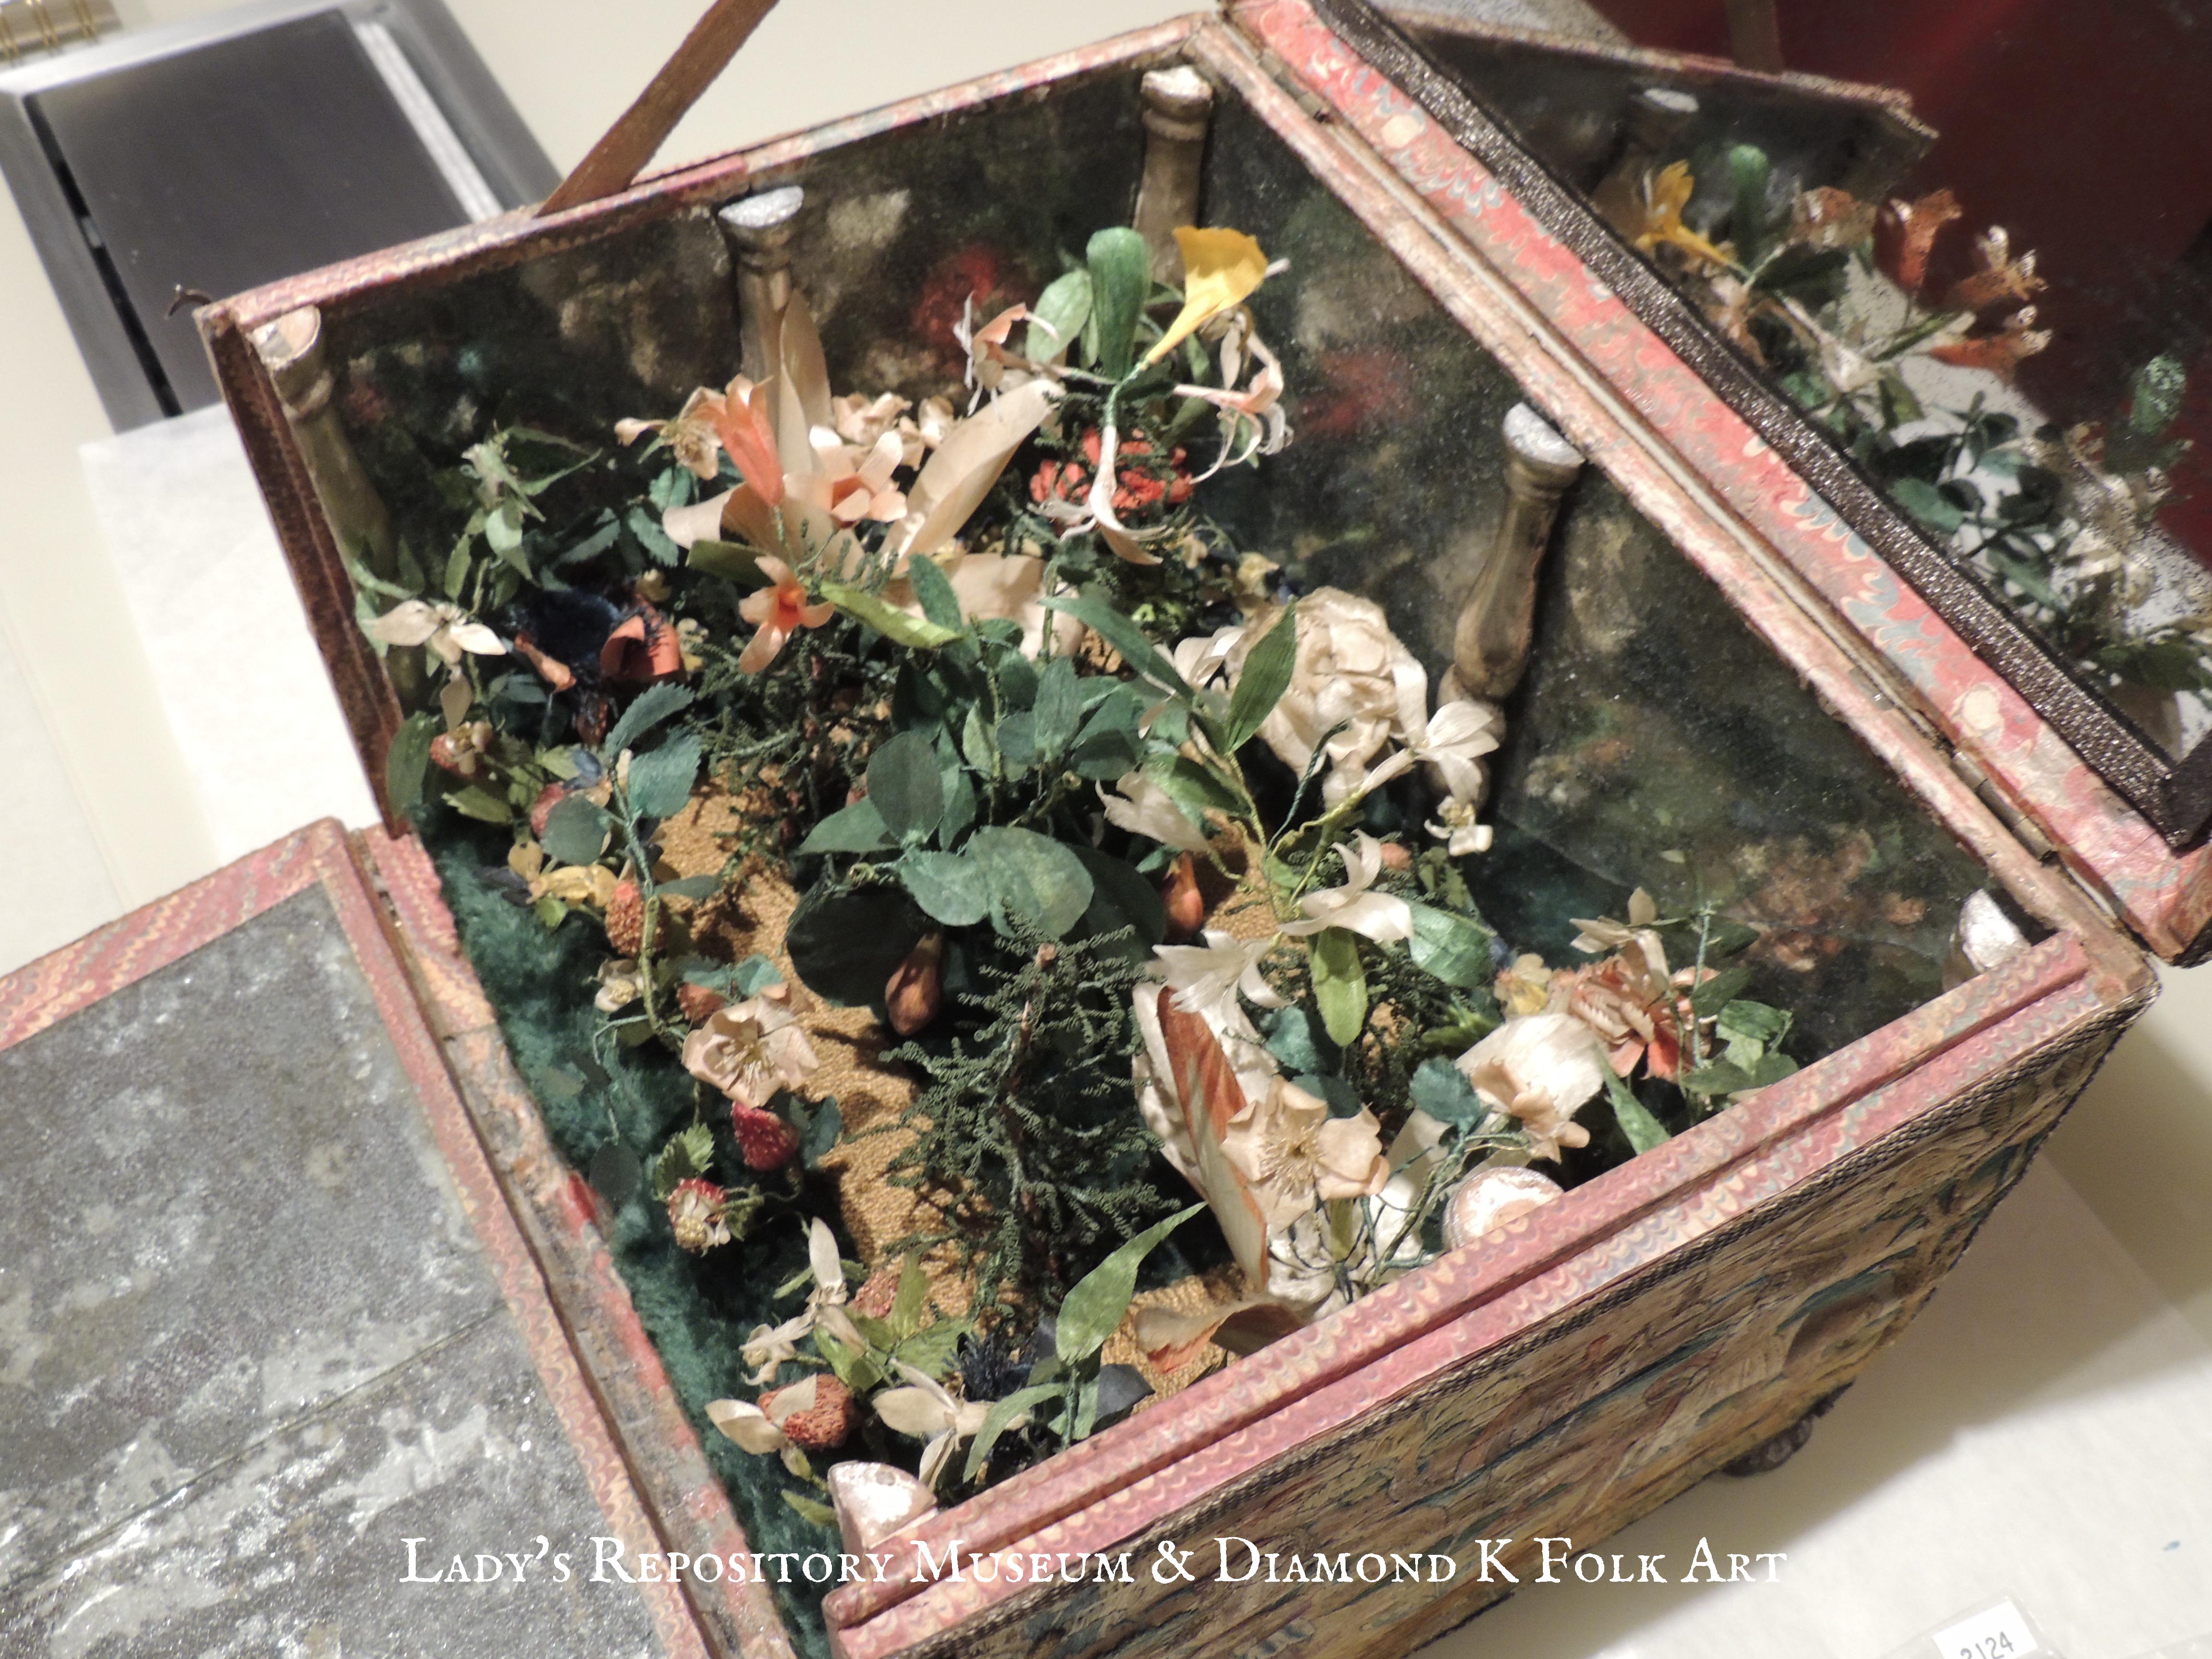
The surround holds flowers I know well~ my Mom always had the most beautiful iris and tulips in the yard~ I love red tulips and would always pick her a bunch for Mother's Day. She was always so happy that I picked them for her, and looking back on it now, probably secretly a little sad I had picked them. The frieze holds flowers and fruits that are special to me~ the turkey here is a nod to the turkeys I had here on our own farm. The central flower is a sunflower, Pip's favorite. Of course, we didn't have borage in northeast Washington...that is an homage to 17th stitchers
Filament silk is so wonderfully shiny, this really glows from all angles. Here you can see up close the faux tortoise shell trim I made for it. I love 17th c caskets with tortoise trim, and it was a favorite for picture frames as well, the dark colours really set off the embroidery.
The proper right side depicts my Pa hunting(then again, I could be me too). We never hunted waterfowl, this is a grouse that has just flown out over water ;) There are two wild strawberries on the hillock behind him, and more up in the frieze. I set the traditional 17th c configuration of a dog chasing a rabbit to the center, but in all honesty, we hunted rabbits a different way~ while riding in a Toyota landcruiser with a pistol. The pansy represents all the little violas that always grow in our yard at home and that seem to pop up always without ever being planted

The proper left side is a plough scene. I think of my Great Grandpa Randall, whom I never knew, out in the fields...pretty sure he was on a tractor, but I didn't really want to stitch a green and yellow John Deer tractor on my casket. The little flowers in the frieze to the far right were as close as I could get to a 17th c representation of the matchsticks I loved to pick out in the woods in the spring. There are thistles in the center, a snail cause I adore snails and a rooster...I thought it was fitting he was crowin the sun up in the panel below.
One of the challenges of this casket is the scale~ everything is so small. I scaled down my threads to get the detail I wanted in my stitching, as well as made others. I made this silk wrapped plate purl in two colours for the snail shell.
The top is a single large cartouche with me sitting under an oak tree...lazing away. I have been picking wild strawberries again and am holding one. Three suffolk sheep graze in the foreground, and my kiko goats Luke(white and brown) & Meisie(black) are relaxing with me. The windmill in the background is not from my childhood. I have always loved windmills depicted in 17th c embroidery, and when I saw some on a trip to Paris in 2017, I knew I was going to include it on something! To the right of us all is a big pond...this represents my most favorite place on earth~Potter's Pond, at home. I also love swans, so you can't have a pond without swans in it
The surround is a mixture of flowers in long and short stitch, and purl work using silkwrapped purls. Two silk wrapped kidskin parchment flowers ornament the cartouche
All of the stitches on this casket are flat stitches~ satin stitch, long and short stitch, French knots, long leg French knots ect
I loved stitching the swans
The back of the casket and back frieze are made of silk wrapped cards~ the figurals on the bottom from left to right top to bottom are green apples, thistle, acorns, single acorn, pink wildflowers, and huckleberries
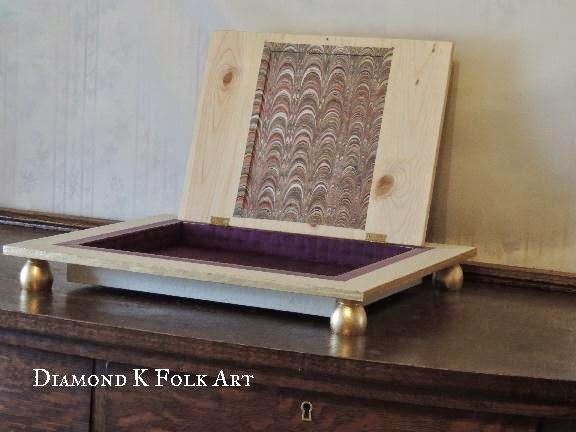
The interior is dressed in blush pink silk, with secret compartments to the lid and otherwise, with a special portrait that sits behind the mirror. I will be teaching a class this year on mirrored interiors that will include instructions for making the octagon design...
If you like the look of the padded silk interior and would like to make your own, my new class Puffed Silkes~ 17th C Inspired Padded Silk Interiors is now open for enrollment~ you can click on the header for the Online Academy at the top of the page, or here to learn more about it.
As excited as I am to see this finished, I am also kind of sad. It has been a good friend to me and kept me company for many hours!