Sunday, May 10, 2020

For Mother's Day~

 18th c Christening Basket &  Quilted Silk Satin Cover 1127.2020.19
 How fitting for the last blogpost about this wonderful Christening Basket, than to have it on Mother's Day? This would certainly be a perfect Mother's Day gift!! Honestly speaking tho, I acquired this set for the basket you see above, the first picture I saw of it looked just about like this. I didn't give a thought or care to what else was in it. In past years, I have seen 3 different basket covers...billed as 'cushion covers',  sometimes without the skirting that hangs over the basket's edge....never have I found one still stitched to its original basket. It measures 17.5"x14.25" and is 5" tall.

 The cover is made from the same cream silk satin as the gown and cushion and bearing cloth, with same louped gimp fringe & fly braid trims.

This picture is a good view of how firmly the quilted silk top piece has been pulled down and stitched to the corners of the basket that is underneath. It is firmly attached and not loose in any spot at all.

 The quilting design is a pretty basket of flowers, with a scrolling border of the same. No dates or initials, but who cares, this thing is fantabulous. The other 3 covers I have studied have all been quilted to a plain linen backing , and I have no reason to doubt this one is any different. 

  Pretty little stitches, the silk satin has held up remarkably well over time with no holes or worn spots...tho I believe this entire set was placed into a trunk in the attic of the estate and just plain ol forgotten. The light has not reached its surface to degrade it....no folks to see it and cut it off the basket to make it into a pillow cover.

  I was very careful to pull each item from the basket one at a time, and found loose pins hanging onto several items, so no surprise to find some that had sifted to the bottom of the basket. Perfect proof for the method of construction~ a nice tight fitting quilted cover that would keep all these little pins from escaping!

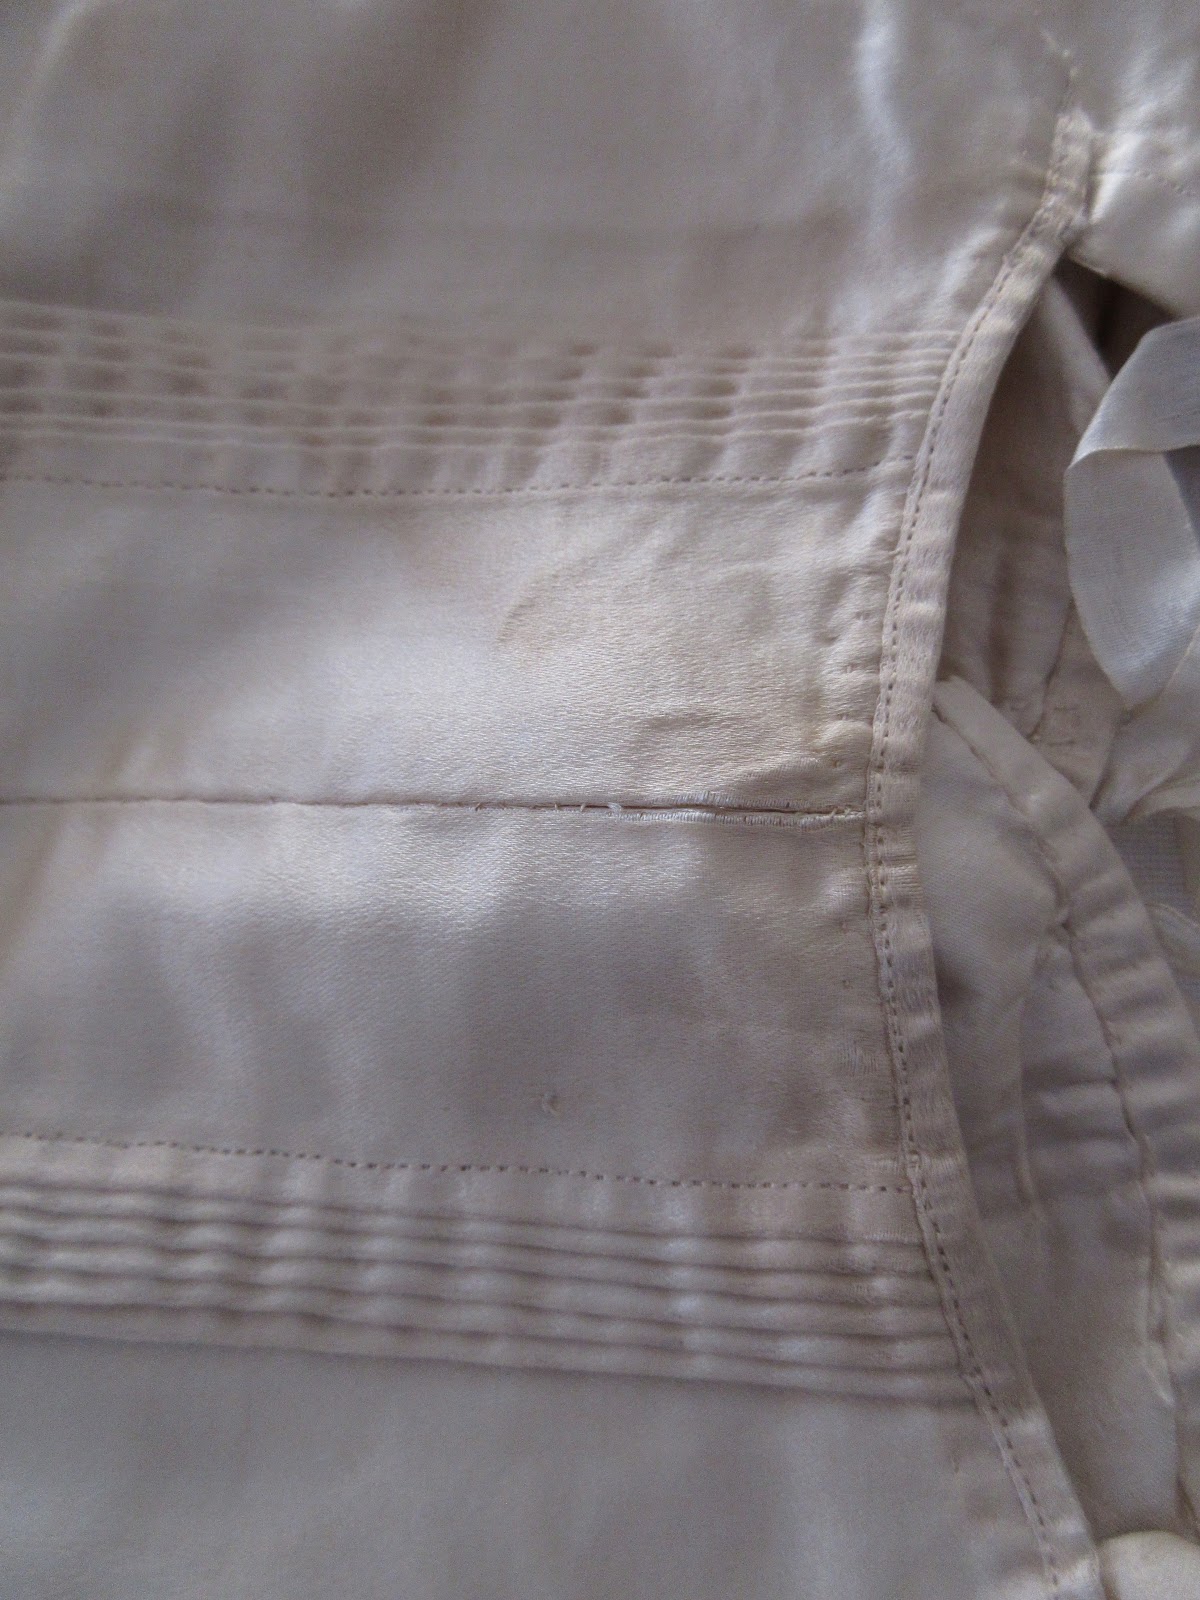
 I was extremely excited to see the basket underneath (many know I have somewhat of a 'thing' for early baskets)...but upon lifting the skirts, found it to be completely covered in silk.  It's a very tight covering, the silk fitting it like a lampshade~ stretched very tight.  The side strip's edge was folded over about an inch or a little more, before being whipped over the very bottom of the basket. This is what you see flipped up at the base~ the bottom friction wear has worn thru this edge, allowing a  little peek at the sides of the basket. 

  Flipping it over to admire the bottom of the basket~ it is so clean and fresh, like the day it was made. The basket itself is most likely made from willow.

 Sneaking a peek at a side thru a worn area, the side construction very simple, the same as the bottom.  No fancy or even robust weaving is needed, as the basket was made for and always meant to be covered.  If you enlarge the picture, you will notice as well, there is a layer of paper between the basket and the quilted cover. It feels as tho there may also be a slightly wadded fill, which would give more reason for the paper lining to be there~ to keep any wadding contained where its supposed to be. 

  This is a view of a corner on the bottom of the basket~ the corner skirtings have been attached to the basket with these long threads that pass not just around the slats, but pierced thru them as well.

A last little interesting that may help me to date and place where this silk was made~ there are  red silk threads woven thru the selvedge edge, as well as silver plate.

I hope you have enjoyed exploring the basket with me, I have certainly enjoyed sharing it with you~

Tuesday, May 05, 2020

Back to that Basket.....

18th c Bearing Cloth 1124.2020.16
   We are down to the final two items in our amazing basket, and I have been getting alot of questions regarding its provenance, so here it is.   If you haven't guessed by now, the set is English. While I do prefer to keep American pieces, beggars cant be choosers when studying early baby things.  This set belonged to Lady Margaret Basset of Tehidy, in Cornwall, U.K. Tehidy house itself has an amazing history that can be appreciated here. This set has filled many holes in the collection's assortment of 18th Christening items.   Nearly the most important, is today's subject, the Bearing Coth. 

 Seen here with the other items in the basket, its massive size can be appreciated. It has been stitched from three loom width lengths of cream silk satin, the same as that of the Christening gown, each 18.5" wide by 60" long. The total measure is 55&half by 60".

 It is trimmed with the same cream silk gimp fringe and fly braid as the other pieces in the set.  At each corner the trim has been arranged to resemble a heart shape.

 The bearing cloth is fully lined with a gossamer fine tissue silk backing. As you can see, the silk trim has been stitched on thru all layers.


The backing so thin, that the metallic threads woven thru the selvedge edges of the silk, can be seen thru it.


 Do enlarge the pictures to appreciate the details in the trim~ 

  Wonderful "fly braid' or fly fringe, dangles have been slipped into the trim at various spots. 

For those interested in provenance,  Lady Margaret's daughter, also named Margaret, married John Rogers of Penrose, in 1776.  The above photo is Penrose Estate today, in Porthleven, Cornwall~a National Trust property.  All families seem to have their problems, and the Rogers' were no exception. When the last of the heirs passed in 2016,  (you can read about that here), the contents were auctioned, including the Christening set used by Lady Basset's daughter, Margaret Rogers for her children. (different than this set, and unfortunately I was unable to acquire)
And yet, the best is still yet to come!

Saturday, May 02, 2020

This Just In......

  1801 Baby Shoes 1143.2020.35

 I have to interrupt my regularly scheduled blogpost of the next item in the basket to share this little pair of shoes we just received this morning. If I have learned anything over the years, it's to recognize a crumpled heap of whatnot, for what it really is. These cunning little shoes were kept inside an paper envelope for years and years. Flattened them right out.

 Flatter than a pancake, actually.  I was super happy to feel how soft and supple the leather was, so thought ya'll would enjoy a peek at my minimalist approach to conservation.  They really do need to be stored fully supported, and not flat like this. They are extremely lucky the leather has not turned hard or brittle over the years.  

  Inside the envelope, they were wrapped in a wide silk ribbon that the original owner had written the provenance on,  worn in the year 1801 and by all appearances, that is a good date for these little beauties.  I put the envelope in an inert poly sleeve, and have already wrapped the silk ribbon round a tube to avoid any folds. Poly stuffing and nylon stockings will be used to make stuffing blocks to fill the shoes. 

 The upper most half of both back seams have popped open~ the holes are easily visible, and because the leather is still intact, I felt confident in placing a few stitches thru them, to bring the backs together again.

  I never do any work to an object that cannot be undone. Natural linen thread was threaded thru a smaller-than-the-hole size needle, and carefully, the backs were stitched closed from halfway point up to the tops.


 Pulling the thread super tight could stress the leather, so it was only tightened enough to join the back seam~ just enough to do the job, no more.
  With the back seam joined, the shoe can be properly stuffed. Poly fill is placed inside a section of nylon stocking and placed into the shoe. It's already looking better, but I don't like the rolling of the leather on the split vamp.

  I dug around in my box of silk ribbons, and picked one that most matched the colour of the original ribbon on the other shoe.  It's not important to me that it matches exactly, I just wanted something similar, that was not distracting.

 Studying the other shoe and how it was laced, I laced this one exactly the same way. There are 4 sets of punched out eyelet holes for lacing.

 Once laced and tied, this shoe has a lot of character~ filling out the shoe form has made the slight toe spring(the slight upturn of the tip of the shoe) visible again.

 Love this before and after pic.  From tired and deflated in the back...to standing tall and proud in the front.

 The other shoe.  I carefully loosened the ties on this one for stuffing, but was super careful to not remove them. This one got a few stitches up the back seam as well, but just 3 stitches at the top, because the original thread was still in the popped holes below that. 

Aren't they just the cutest lil things?
I hope you enjoyed them, and will go back now, to the next item in the basket on the next blogpost!

Thursday, April 30, 2020

Back to that Basket....

c1750 Silk Satin Christening Gown 1123.2020.15
 There are just a few things left in the basket now...not gonna lie, I may have saved the last 'few' things for last, as they are the most exciting! This is a typical cream silk satin christening gown of the period...I say typical, because I have several in the collection here, and have studied several in other collections, and they are all made from similar cream silk satin, with nearly the same louped fancy gimp fringe and fly braids.  The arrangements of the trim may be different, the cut of the gown bodice a little different...but for the most part, elements made from are the same. I wonder if the fabric itself was billed as satin specifically for these gowns?
This one is beautiful~ with a nice full skirt~ 86" at the hem.  Its always fun to study the different gown openings...some have an open front, some are back closing....I have seen both front and back stitched closed so the gown was slipped on over the head of it's wearer.  Agrees in this hasty picture, it is hard to see, the the gown has a partial open back, with a partially attached front apron.

  This shows the top (waistband )of the front apron~ to the right in the picture. This is a fully separate piece from the gown, and a lot of times they are missing, leaving a shell that resembles an open robe. Instead of having a full petticoat on the child, this apron is used as a filler, and in this case, the edges of it have been hastily tacked to the edges of the gown front.  There are no ties on the waistband, it would have been pin'd to baby's under clothes.

 The front of the bodice is expertly pleated to shape, with wide cuffed stitched on sleeves (some gowns just had shoulder straps the sleeves were tied onto)

 We know the center front was not stitched up later, because of the neck binding that runs over the center front seam.

 Such tiny stitches...tiny tiny tiny.  Imagine, no electric light...no magnification available.  It's no wonder the sewing table's favorite spot was next to a large window.

 Apron top

 A wonderful arrangement of the trim to the front, with additions of grouping of knotted silk fly fringe, along with 'danglies' that I adore.

 These little drops are only attached at the very top, so they dance around merrily when the gown is moved

 It's all party in the front on this gown~ the back is all business. A nice smooth gown, void of trim that would get hung up on Mamma's gown. Also very frugal and practical~ why pay for trim that would never be seen?

A close view of the back shows the pleating echoes that of the front.  There are four sets of silk tape ties for a back closure.

One of the ties has pulled loose, and is held in place with a straight pin...from our cushion no doubt.
I hope thee has not grown tired of our basket exploration yet...the best is still yet to come!

Tuesday, April 28, 2020

Threads ....

Arrived & Gone Again


For those of you who had threads on order, they have all come in, been sorted and shipped out again this morning, so check your email for your tracking numbers.  I have tried for years to figure out why my emails get sorted into spam boxes...still have no clue so I just roll with it!  Thankyou again so very much for the orders, I truly appreciate your patronage
XOXOXOX

Friday, April 24, 2020

Next out of the Basket...

Baby Shift 1132.2020.24
 I just love this simple piece. The cut of construction is as basic as it gets, but the expert minute stitching shows it is thoroughly contrived with love and intent for a precious little stranger, indeed. It is small, just 19" shoulder to hem. Its a really exciting piece once you start really looking at it....
What do you notice about this first? The long center front opening? Long sleeves? The ties attached to the sleeves? Maybe those gussets over the shoulders???

  From studying eighteenth century shift construction, we know they were usually made from rectangle pieces of cloth~ square gussets were added under the arm for ease, and occasionally long rectangular gussets were added  from the hem up the sides, to add fullness. This little garment breaks all those rules. The front and back are each one big rectangle....but instead of adding a gusset under the arm, the gusset has been added over the shoulder...and there are no gussets on the sides to add fullness. Then again, it makes total sense. Why would a baby need fullness at the hem? They cant walk. Even with the front opening...I wish I could have been there to see Mum trying to squeeze her little one into this thing.....a sausage stuffing machine comes to my mind forefront!

 Delicate frills edge the neck and sleeve cuffs. There is a drawstring tie around the neck.....

The bottom of the front opening has been whipped to keep it from ripping out further down the front of the garment with use. 


 And here is a good view of those over shoulder gussets....no amount of that baby's skin would have been seen with this on.  Was it a cold weather garment??? 

  The frills expertly rolled onto the cuffs.

  Here are those ties again.... firmly stitched to the bottom of each sleeve..... interesting.  Now if this piece was later, say in the 19teens...one may say they resemble the tabbed imbecile sleeves of that era~ (extra extra long sleeves that were pushed up on the arm, and held in place with a button tab or band attached just above the cuff of the sleeve).  But nope. This is earlier. I have my speculations, being a mother of four precious beings myself. 

 The ties are stitched in place~ not just cording passed thru and knotted.....

 And looking closer, we see they are not cording at all, but tightly spiraled flat tape ties.  So what do I think these are for?  Well...for me, it is obvious~ this garments is just the predecessor to the Gerber onesie with the fold over mitts in the sleeves to keep baby from scratching the heck out of their little faces when they are so brand new. Mum could just tie the ends of the sleeves closed, and baby's hands would be secured within the sleeves. They could still wiggle their arms...but wouldn't be able to claw their face...or anyone else's.

 There is not a raw edge anyplace on the garment~ if the seam is not flat felled, it has been expertly finished. This is the view inside the neckline, looking at the gusset at the top of the picture, and then the armscye below. Perhaps a better term for this garment would be a baby 'saque'. I wish there were more of these around to study~ 

Sunday, April 19, 2020

the bottomless basket....

Knit Bib 1131.2020.23
Next out of the basket is a knit bib~ above I have it directly over the hollie point one we just peeked at~ it is nearly the same exact shape and size of the hollie point bib.   

  Knit items are more rare to survive, as just by the nature of the stitch, if it gets a break in the thread or a snag in its hundreds of years of existence, it will unravel.  Folks who don't knit, will throw out a garment if it gets a hole because they don't know how to mend it. Lucky for us, this little gem is complete. The body is knit is a pleasing fan pattern with scallop front edge, and the whole thing is edged in what look to me to be crochet.
 Do enlarge the pictures~ the threads are very fine, my photos are highly magnified.  

 Looking at the stitches individually, I like to imagine the hands who so expertly placed each and every one of them. 

The back side....