Thursday, June 09, 2016

What could compliment the Beads on my Flat Top Casket???

Why, Feathers, of Coarse!
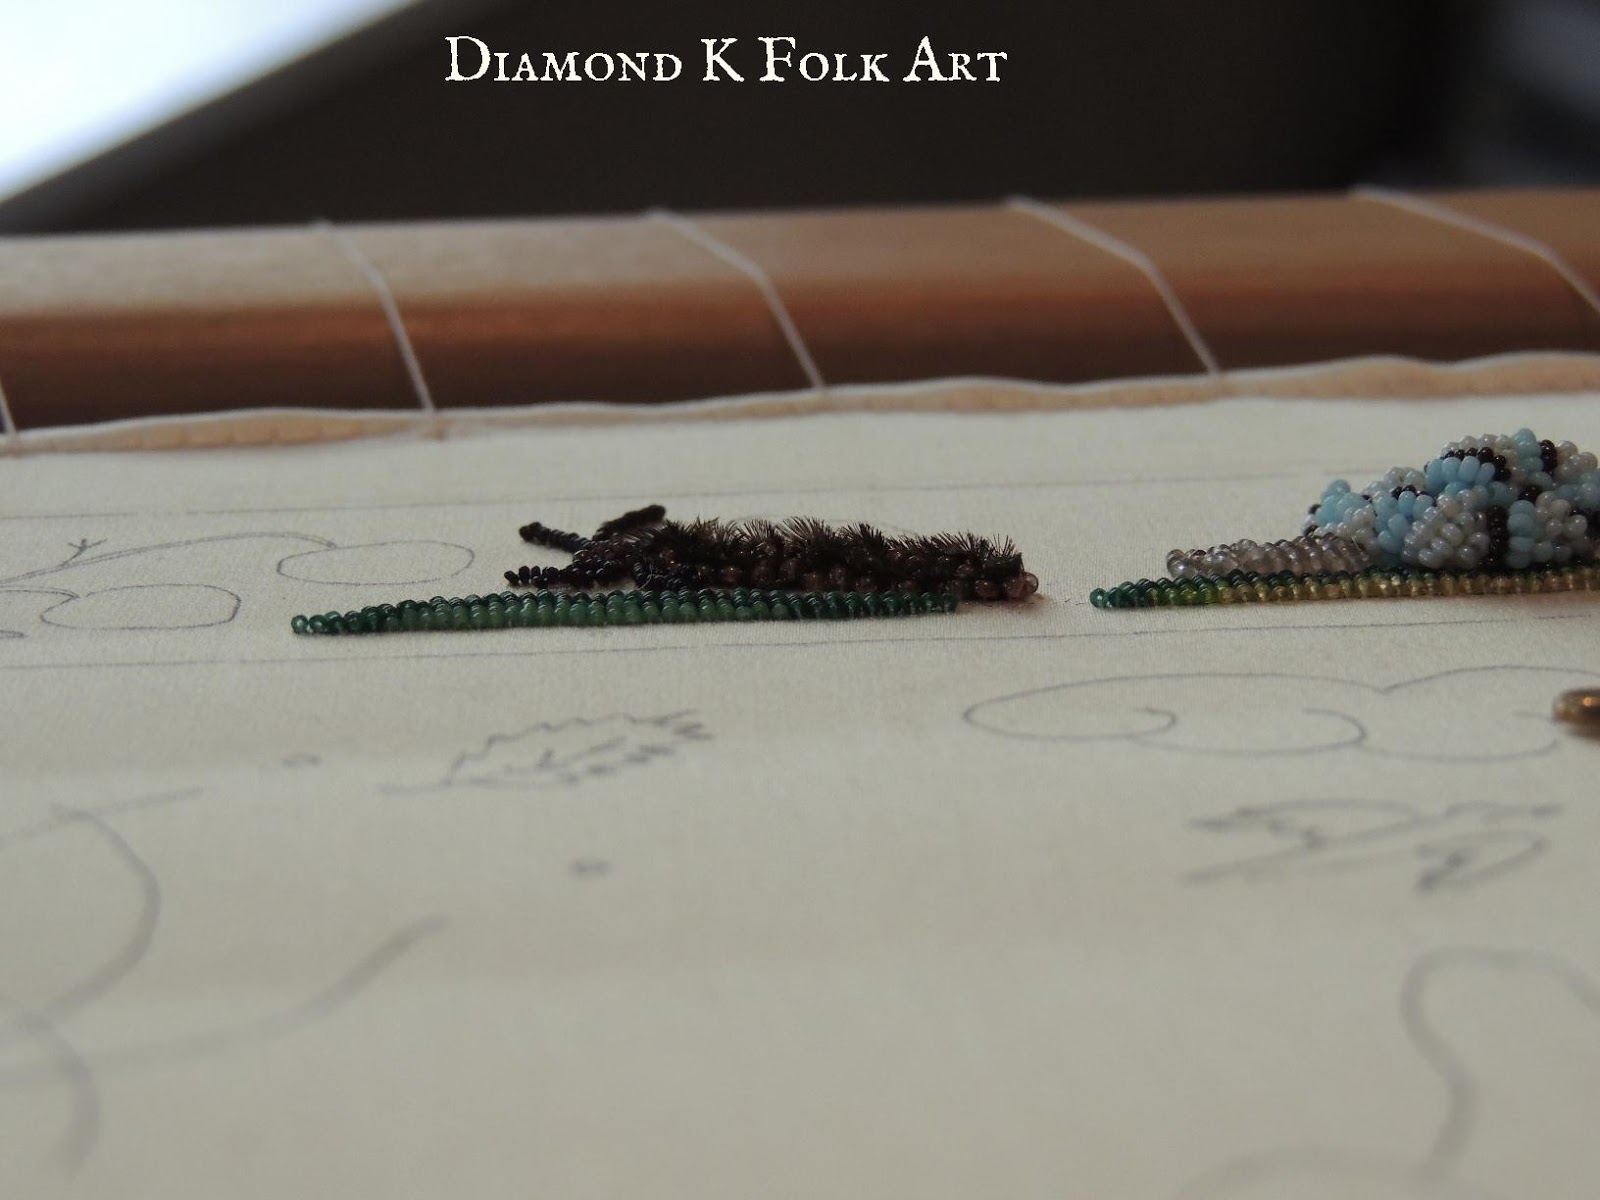
 Aren't these colors pretty!? I think so!  This is the colour palette I have chosen for one of the butterflies on the front frieze of my flat top casket.  I was really really trying to stick to my bead only rule....but he's a butterfly....I mean come on... he needed a little 'kick'!
 I left these two pictures large so you can click on them to see better~ his body is lustre beads, with real peacock feathers worked in. Its hard to get the effect on the camera~ he just looks a little fuzzy I guess....and makes the looker really stick their nose in and then they say....'are those feathers in there?'
Yep! There sure are I say! Here you can see how fuzzy he is, and depending on the angle at which you view the feathers, his body changes from green to golds....I thought it a perfect effect for the lid, one of the few moving parts of my flat top. There are so many antique 17th c caskets and embroidery panels that have the remnants of feathers that once were there (especially caterpillars and bugs)....its really easy to see why they used them so much. When I finished his body I liked it so much my mind immediately was racing to think of what other areas I could use them in!  

Monday, June 06, 2016

Museum Monday!

1830 Lady's Horsehair cap/wig, 713.2013.31
 This week's Museum Monday lucky number is 713!  This piece is one of the earliest hair pieces I have in the collection~ one every so often sees the 1830's era false curls ladys would wear on the side of their heads, that are attached to little combs....but an entire cap, this early, is a wonder to behold. I have given it a soft date of 1830's, but if one looks into fashion plates, or early dolls, you will find this coiffure with back coronet popular in the 18teens. German mache dolls were commonly sent to France to have their wigs made in the 1830s, with side treatment and wig binding the same as this one, so really anytime during the first few decades of the 19th c one could have seen this piece on say, their best friend that had quite a bit of money, and thin hair.
 It has been plaited from real horsehair, with the underside woven in a series of loupes~ this acts as a padding of sorts, any maybe gave the wearer something to pin their real hair to....
 One would leave out bangs around the face, and work them up over the binding to hide it. With no shampoo available at the time, I would suppose hair had to commonly have this 'glaze' effect, from all the oils, so this shiny horsehair would blend in well. The entire piece is horsehair, save for the applied cotton tape ties
 The workmanship is truly amazing. It would really be interesting to know how long a wig like this took to make~ and was the entire process mechanized some how? The front band is so tight and perfectly woven, its hard to find the ends of the horsehair

Even the ties around the plaited loupes in the coronet are horsehair.  Its a real privileged to have it, and am so happy to share it today!

Friday, June 03, 2016

Like Oil on Water

Antique Lustre Beads
 Beads fascinate me, what can I say. Especially  working with such small beads, I have to have my magnifiers on, and in doing so, really am amazed by these little balls of glass. As if the history of how the beads in general were made so long ago isn't interesting enough, the different glasses are really fascinating...and made with metals and earth elements no longer available today, so the early colors are truly precious. I have a few lustre beads in my vast palette....Id say out of 300+ colors, I have maybe 5 lustres. So I save them for special.
Any color bead can be a luster bead~ lustre, or luster, is a finish applied after the bead is made~ except for black beads, those usually were Irisized. Simply put, black glass beads were put into big vats of lacquer that contained metal dust...then they were put thru a furnace just hot enough to burn off the organics and fuse the metal tot he surface, making the iris finish.  Lustring beads was reported in use as early as 1856.  The beads were sent thru a chamber that contained metal fumes...the metal in the fumes would stick to the hot glass and melt to their surface, producing the effect above...to look closely at them it looks like oil on water, but in a smooth allover effect, without the striations. I am always thankful to the nameless many, as there were sure to be many MANY people in the glass industry that died early deaths from breathing toxic metal vapors. 
Check back in a few if you want to see where I put these little beads!

Monday, May 30, 2016

Museum Monday!

c1855-60 Child or Dolly's Chemise 146.2002.14
 Today's Museum Monday lucky number is 146!  A quaint little girls white cotton chemise, entirely hand stitched in minute little stitches. There are 5 Clambroth glass buttons around the waist, for a petticoat to be buttoned on to.
 It has several really neat features, the hand stitched ruffle around the neckline and sleeves is marvelous....there are underarm gussets with reinforced bands under the arms..... ( pictures I left large so you can see the tiny stitches).  One cannot say for certain if this is a small girl's piece, or if it was made by a girl for her dollye~ which was quite common, to give the girls practical use of all the stitches they had been taught at girl's school.  The stitching on these pieces is always immaculate, tiny, fully hand worked. There are usually embroidered initials to go along with~ a young ladye would perfect her stitching in miniature for dollye, before she was on to larger things for herself or others.
 What I would like to focus on, for this post, is the one aspect of this chemise that is not hand stitched. The simple strip of whitework embroidery down the center front. Its attached with perfect tiny stitches....above is a picture of the back of the embroidery. If you are ever in question if an embroidery is hand or machine made, one need only examine the back. You can click on the picture to enlarge it, and note the carriage of the threads is in the exact same place on each reoccurring motif. Of coarse it also helps to know when the first embroidery machine was made~ 1829 by Joshua Heilmann to be exact.  He sold his machine to the Swiss, and by the 1850s, machine made embroidery was all the rage, having put hundreds if not thousands of cottage industry workers out of work.  And when I say machine made embroidery, don't automatically think it was crude....not in the slightest. It can sometimes take an expert eye to discern a machine made embroidered piece from a handmade one.
The process was not exactly simple either...above is a postcard c1905 of workers at an embroidery machine. The man sitting on the left is tracing the embroidery pattern with the long arm, which in turn transfers the design to several sets of needles that embroider the motifs at 1/6th the size of his pattern template. I dug around and found a video of the last Schiffli machine in use, by the Manchester Metropolitan University ~ its hard to tell, but the fabric is what moves, the needles are stationery.  By the 1860s there were literally thousands of these machines in use~ one can only imagine the noise!!!


Saturday, May 28, 2016

Happy Memorial Day


Proud to have served my country, and  proud that such kindred spirits watch over the graves of those who have given the ultimate sacrifice. I encourage you to cut an extra vase of flowers, and put on an undercoated veterans grave at your local cemetery this Holiday

Thursday, May 26, 2016

My Flat Top Casket

Slithering along at a snails pace.....
  There are snails everywhere on my casket, I love them! Each frieze, and in just about every panel they can be found....it was really hard for me to not design an entire frieze of sword wielding snails, battling the iconic evil knight and winning.....but alas, my casket is a violence free zone.....there will be no severed heads dripping with blood....no dismembered bodies floating in the sea!  It is amazing how s.l.o.w. it can go tho....even for me, who enjoys not rushing! Its ridiculous to even think about how long the two snails took me on the front frieze...forget 'a snail's pace' ...I was traveling at a negative snail's pace for quite some time....I worked several partial shells for color study....it was terrifically hard to pick colors that I liked....or I liked the colors, but then they didn't look good worked up. I had a vision in my mind of how I wanted the shells to look....and Oh. My. Golly! they just would not cooperate. They thought they could get away with being cheeky and I wouldn't unpick them....but alas, I spent 3 and half hours one afternoon unpicking a hideous shell. Added padding.....worked a shell....nope, still not right! To say I was absolutely aggravated was an immense understatement. These little blasted shells were not going to defeat me....( and yes, sailor in me came out on more than one occasion! ...^#^$@)*#&$^*&$(@*&#!!!!!)
 Perhaps its a sign from above....or maybe a warning...that the entire casket will resume at a snails pace...or maybe even slower...but that's O.K. I suppose...they were really a challenge for my mind to comprehend how each little spiral and swirl was formed, and now that I have them finished....my dapper fellows.....I don't think the other ones will be as cheeky....at least I hope not....and since I used up all my pretty blue beads on these shells, I wont have to try and figure out what color goes with this blue! Victory!!

Monday, May 23, 2016

Museum Monday!

c1805 Girl's Crimson Gown & Spencer Jacket 213.2003.46

 Today's Museum Monday lucky number is 213!  I never tire of revisiting this gown and it matching Spencer jacket.  If you have been a regular blog reader you may remember it, but if not~ here is a more detailed post, gosh, almost 8 years ago!  Enjoy!